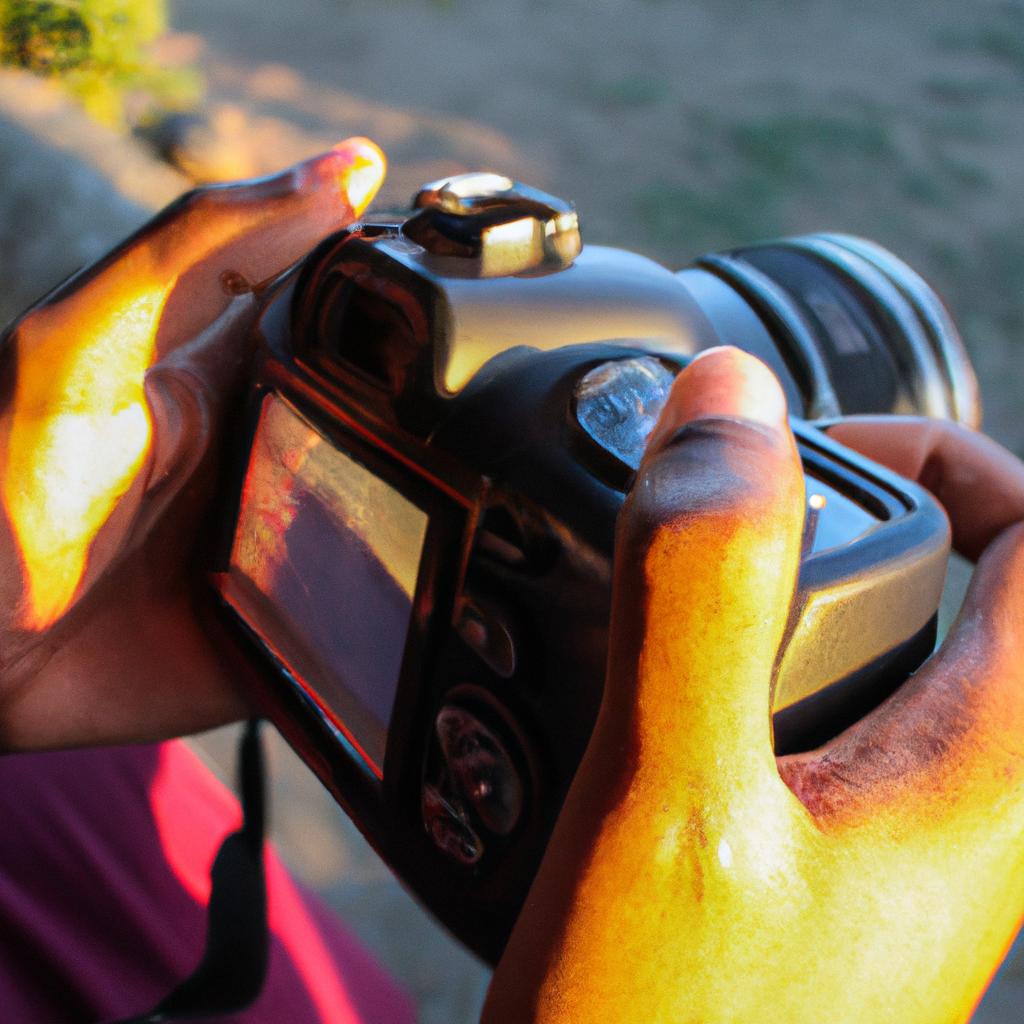
ISO, also known as the International Organization for Standardization, plays a crucial role in photography by determining the sensitivity of a camera’s image sensor to light. The ISO setting is one of the three fundamental factors that contribute to exposure control, alongside aperture and shutter speed. However, understanding ISO can be challenging for beginners and even experienced photographers alike due to its technical nature and various implications on image quality. To demystify this perplexing aspect of photography, this article aims to provide a comprehensive overview of ISO, shedding light on its significance, functions, misconceptions, and practical applications.
Consider an aspiring photographer venturing into night-time street photography with their brand-new DSLR camera. They set out at dusk when natural light starts fading away slowly. As they stroll through dimly lit alleyways capturing intriguing moments amidst shadows and mystery, they face a dilemma: how can they capture sharp and well-exposed images without compromising image quality? This is where ISO comes into play – adjusting the sensitivity setting allows them to adapt their camera to low-light conditions effectively. Understanding the intricacies of ISO becomes paramount in achieving optimal results while maintaining desired levels of noise reduction and preserving details in darker areas. By unraveling the mysteries behind ISO settings, photographers gain valuable insights into manipulating their camera’s sensitivity to light and balancing it with other exposure control factors.
ISO, which stands for International Organization for Standardization, measures the sensitivity of a camera’s image sensor to light. In digital photography, ISO is represented by numerical values such as 100, 200, 400, etc., with higher numbers indicating higher sensitivity. When shooting in low-light conditions or situations where a faster shutter speed is required, increasing the ISO can help capture properly exposed images without relying solely on long exposures or wider apertures.
However, adjusting the ISO setting also introduces certain trade-offs. One of the most significant trade-offs is increased noise or graininess in the resulting image. Higher ISO settings amplify not only the desired light but also any inherent electronic noise present in the camera’s sensor. This noise can manifest as speckles or color distortion and may reduce overall image quality.
To strike a balance between capturing enough light and minimizing noise, photographers must understand their specific camera’s ISO performance limits. Some cameras handle higher ISO settings better than others, producing cleaner images at elevated sensitivities. It is crucial to experiment with different ISO settings under various lighting conditions to determine the optimum range for each specific camera model.
Another common misconception about ISO is that a lower value always means better image quality. While lower ISO settings generally produce cleaner images with less noise, they are not always practical in every situation. Shooting in extremely low-light conditions may require higher ISO values to maintain proper exposure without resorting to long exposures or wide apertures that might introduce motion blur or shallow depth of field.
Understanding how aperture and shutter speed interact with ISO is essential for achieving correct exposure while maintaining desired image quality. Increasing the ISO allows for faster shutter speeds or smaller apertures while still capturing sufficient light. Conversely, decreasing the ISO requires longer exposures or wider apertures to compensate for reduced sensitivity to light.
In conclusion, mastering ISO in photography involves striking a delicate balance between capturing enough light and minimizing noise. By understanding the implications of ISO settings, photographers can adapt their camera’s sensitivity to various lighting conditions and achieve optimal exposure while preserving image quality. Experimentation, practice, and familiarity with specific camera capabilities are key to utilizing ISO effectively in different shooting scenarios.
Understanding Metering in Photography
Imagine you are a photographer capturing the beautiful landscape during sunset. You meticulously adjust your camera settings, aiming to capture the vibrant colors and ensure that every detail is perfectly exposed. One key aspect of photography that plays a crucial role in achieving this balance is metering. Metering refers to the process of measuring light to determine the optimal exposure settings for a photograph. By understanding how metering works, photographers can effectively control their cameras’ exposure and bring their creative vision to life.
Metering Modes:
Photography involves various lighting scenarios, from brightly lit scenes with high contrast to low-light situations with subtle nuances. To cater to these diverse conditions, modern cameras offer different metering modes that photographers can choose from based on their specific needs. Let’s explore some commonly found metering modes:
-
Evaluative or Matrix Metering: This mode analyzes multiple areas across the frame, taking into account factors such as color, brightness, and subject distance. It then calculates an average exposure value for the entire scene, providing balanced results suitable for most general shooting situations.
-
Center-Weighted Average Metering: In this mode, emphasis is placed on the central area of the frame while considering surrounding elements as well. It provides more importance to subjects located close to the center, making it useful when photographing portraits or other centered compositions.
-
Spot Metering: Spot metering allows photographers to measure light intensity within a small spot at the center of the frame (typically around 2-5% of the total image area). This mode enables precise control over exposure by disregarding brighter or darker areas outside of the selected spot.
-
Partial Metering: Similar to spot metering but covering a larger portion of the frame (around 10-15%), partial metering considers both central and surrounding regions when determining proper exposure values. It strikes a balance between spot and evaluative metering and is often used for subjects where the center isn’t as critical.
Table: Pros and Cons of Different Metering Modes
| Metering Mode | Pros | Cons |
|---|---|---|
| Evaluative/Matrix | Suitable for most situations | May struggle with extreme contrast |
| Center-Weighted Avg | Provides emphasis on centered compositions | Less effective in scenes with uneven lighting |
| Spot | Precise control over exposure | Requires careful consideration of framing |
| Partial | Balances central and surrounding areas | Limited coverage compared to other modes |
Understanding metering modes helps photographers make informed decisions about their camera settings. However, it’s equally important to consider the type of light present during a shoot. In the upcoming section, we will explore different types of light metering techniques that can further enhance your photography skills.
Different Types of Light Metering
ISO, or International Organization for Standardization, is a key setting in photography that determines the sensitivity of your camera’s sensor to light. Understanding how ISO works can greatly enhance your ability to capture stunning images across various lighting conditions. Let’s delve into this topic further and demystify the concept of ISO.
To illustrate its importance, let’s consider a hypothetical scenario: you’re photographing a landscape during golden hour when the sun casts a warm glow over the scene. As the sunlight gradually diminishes, you may need to adjust your camera settings accordingly. One way to compensate for less available light is by increasing the ISO value. By doing so, you amplify the sensor’s sensitivity to light, allowing you to maintain proper exposure without compromising image quality.
When adjusting your camera’s ISO setting, keep these considerations in mind:
- Noise: Increasing ISO also amplifies noise in your photographs, resulting in grainy textures and reduced clarity. Higher-end cameras typically handle higher ISO values better than entry-level models.
- Dynamic range: The dynamic range refers to the extent of tonal detail captured from shadows to highlights. Higher ISO settings tend to decrease dynamic range, potentially leading to loss of details in darker areas.
- Optimal ISO: Each camera has an optimal ISO range where it performs best in terms of noise control and dynamic range preservation. Experiment with different settings on your specific camera model to determine its sweet spot.
- Post-processing capabilities: Modern editing software offers advanced noise reduction tools that can alleviate some of the undesirable effects caused by high ISO levels. Keep this in mind when shooting at higher sensitivities.
By understanding these factors and making informed decisions about ISO selection based on lighting conditions and desired outcomes, you’ll be able to achieve more visually compelling photographs.
Transitioning into our next topic about “Spot Metering: Focusing on Specific Areas,” we will explore another aspect of metering modes that enables precise exposure adjustments for specific elements within a scene.
Spot Metering: Focusing on Specific Areas
Demystifying Photography’s Sensitivity Setting: Evaluative Metering
Now, let us delve into another crucial aspect that affects exposure settings: evaluative metering. To illustrate its importance, let’s consider a hypothetical scenario involving a landscape photograph.
Imagine you are capturing a breathtaking sunset scene with vibrant colors and intricate details in both the foreground and background. In this case, using evaluative metering becomes essential to ensure proper exposure throughout the frame.
Evaluative metering takes multiple readings from various areas of the image and analyzes them to determine the optimal exposure setting. This mode provides a balanced assessment by considering factors such as brightness, contrast, and color distribution across the entire frame. By doing so, it enables photographers to capture scenes accurately without overexposing or underexposing specific elements.
To better understand how evaluative metering works and why it is valuable for photographers, here are some key points:
- Comprehensive analysis: Evaluative metering divides the frame into multiple zones or segments (typically ranging from 16 to 256), each evaluated independently based on their unique characteristics.
- Intelligent prioritization: The camera’s algorithm assigns different weights to these zones depending on their significance within the composition. For instance, if your subject is off-center but holds more visual weight than other elements in the frame, evaluative metering will give priority to ensuring accurate exposure for that subject.
- Adaptive capabilities: Modern cameras often incorporate sophisticated technologies like artificial intelligence and machine learning algorithms to continuously improve evaluative metering performance. These advancements enhance accuracy when dealing with complex lighting conditions or challenging subjects.
- Customization options: Photographers can typically fine-tune evaluative metering settings according to their preferences or shooting style. Camera menus may offer options such as center-weighted average metering or partial spot-metering, allowing for greater control and creative possibilities.
By utilizing evaluative metering effectively, photographers can achieve well-exposed images that faithfully represent the scene’s dynamic range. In our next section, we will explore another essential light metering technique: spot metering. This method allows photographers to focus on specific areas within the frame while maintaining accurate exposure overall.
Evaluative Metering: Balancing Exposure for the Entire Frame
ISO: Demystifying Photography’s Sensitivity Setting
In our previous discussion, we explored the concept of spot metering and how it enables photographers to focus on specific areas within a frame. To further understand the intricacies of metering modes, let us now delve into evaluative metering – a technique that ensures balanced exposure for the entire frame.
Imagine you are capturing a landscape photograph during sunset. The sky is vibrant with warm hues while the foreground remains in shadow. Utilizing evaluative metering allows your camera to assess various zones within the scene, considering both highlights and shadows. By analyzing multiple points throughout the frame, this mode intelligently calculates an optimal exposure setting for a well-balanced image.
To grasp the significance of evaluative metering, consider these aspects:
- Dynamic Range: Evaluative metering takes into account scenes with high contrast where there is a significant difference between bright and dark areas.
- Complex Lighting Scenarios: This mode excels in situations where light sources vary or when subjects have different levels of reflectivity.
- Achieving Consistency: When shooting a series of images under similar lighting conditions, evaluative metering helps maintain consistent exposures across all frames.
- Creative Control: Understanding this mode empowers photographers to purposefully manipulate exposures by intentionally overexposing or underexposing certain portions of an image.
| Scene | Exposure Adjustments |
|---|---|
| Bright Sky + Dark Foreground | Balances exposure for both elements |
| Backlit Subject | Ensures proper exposure without washing out background details |
| Low-Light Indoor Scenes | Accurately captures detail while minimizing noise |
By employing evaluative metering effectively, photographers can capture stunning images in challenging lighting scenarios. Now that we comprehend this method’s benefits, let us move forward to explore center-weighted metering – another valuable tool in achieving optimal exposure.
With center-weighted metering, photographers can prioritize their subjects while maintaining a balanced exposure. Let us explore this technique in detail and understand how it enhances our photographic endeavors.
Center-Weighted Metering: Priority to the Subject
Building on the concept of balancing exposure, let us now delve into another metering mode known as center-weighted metering. This method prioritizes the subject at the center of the frame while still considering the overall exposure.
To grasp the essence of center-weighted metering, consider a scenario where you are capturing a portrait in a well-lit room. In this case, your main focus is to ensure that your subject’s face is perfectly exposed, with accurate skin tones and details. By employing center-weighted metering, you can achieve just that. The camera will evaluate the light around your subject but give more weight and priority to their face when determining proper exposure settings.
Here are some key features of center-weighted metering:
- Greater emphasis on subject: Center-weighted metering places greater importance on correctly exposing the primary point of interest, typically located in the central area of the frame.
- Consideration for surrounding elements: While focusing primarily on the subject, this mode also takes into account other elements within its measuring range to provide overall balanced exposure.
- Flexibility in composition: With center-weighted metering, photographers have freedom in composing their shots without worrying about precise framing or positioning. As long as the subject remains within the central region, optimal exposure can be achieved.
- Adaptability across genres: Whether shooting portraits, landscapes, or street photography, center-weighted metering acts as a versatile tool to ensure accurate exposure for various subjects and scenes.
| Pros | Cons |
|---|---|
| Prioritizes subject | Limited control over specific areas outside central region |
| Balanced exposure | Less effective for off-center subjects |
| Flexible composition | May require additional adjustments for complex lighting scenarios |
Now that we have explored how center-weighted metering works and its benefits, let us move on to another metering mode called partial metering. This mode allows for fine-tuned exposure control within a specific area of the frame.
Partial Metering: Balancing Exposure for a Specific Area
ISO, or the sensitivity setting of a camera’s image sensor, is a crucial aspect of photography that often perplexes beginners. In order to demystify this concept, let us delve deeper into understanding ISO and its role in capturing images.
Imagine you are shooting a landscape photograph at dusk. The diminishing light poses a challenge as it requires longer exposure times to properly expose the scene. By increasing the ISO setting on your camera, you can compensate for the lack of light and capture a well-exposed image without having to use slower shutter speeds or wider apertures which might compromise other aspects of your composition.
To comprehend the impact of different ISO settings, consider these key points:
- Higher ISO: Increasing the ISO value enhances the sensitivity of the camera’s sensor, allowing for faster shutter speeds and better low-light performance. However, higher ISOs may introduce noise or graininess in the final image.
- Lower ISO: Lowering the ISO reduces sensor sensitivity but results in cleaner images with less noise. However, slower shutter speeds might be required under low-light conditions potentially leading to motion blur if not stabilized adequately.
- Dynamic Range: Higher-end cameras tend to have better dynamic range capabilities at lower ISO settings, ensuring greater detail retention in both shadows and highlights.
- Post-processing Flexibility: Images captured at lower ISO values offer more latitude for post-processing adjustments such as adjusting exposure levels or recovering details from shadows and highlights.
Let us now explore these concepts through a table outlining how various ISO settings affect image quality:
| ISO Setting | Image Quality |
|---|---|
| 100 | Excellent |
| 400 | Very good |
| 800 | Good |
| 3200 | Fair |
As we move forward into our discussion on metering modes and their impact on exposure, it becomes evident that mastering different elements of photography involves an intricate interplay between various settings and techniques. Understanding ISO is a fundamental step towards achieving optimal exposure, but it is not the sole determinant. So, let us now proceed to explore metering modes and how they influence exposure in photography.
Metering Modes and Their Impact on Exposure
In the previous section, we explored the concept of partial metering and how it allows photographers to balance exposure for a specific area in their photographs. Now, let’s delve deeper into this topic and understand its significance in achieving optimal image quality.
Imagine you are capturing a portrait against a bright background, such as a sunset. In this scenario, using partial metering can help ensure that your subject is properly exposed while maintaining the vibrant colors of the sky. By selecting this metering mode, your camera will measure light primarily from the central area of the frame where your subject is located. This allows you to obtain an accurate exposure reading specifically for your subject without being influenced by the brighter background.
To further illustrate the importance of partial metering, consider these key points:
- Selective focus: When using techniques like shallow depth of field or bokeh, focusing on one particular aspect becomes crucial. Partial metering helps ascertain proper exposure for that specific area of interest.
- Subject isolation: If there is significant contrast between your subject and the surroundings, partial metering enables you to prioritize exposing your subject correctly rather than relying solely on overall scene brightness.
- Creative control: With partial metering, you have greater flexibility in manipulating lighting conditions to create different moods or emphasize certain elements within your composition.
- Exposure accuracy: By measuring light from only part of the frame instead of averaging across the entire scene, partial metering provides more precise exposure readings tailored to individual subjects or areas.
Now, let’s take a closer look at how various camera models implement partial metering through their unique settings:
| Camera Model | Partial Metering Mode |
|---|---|
| Canon EOS R5 | Spot AF Point Linked To Partial Meter |
| Nikon D850 | Center Weighted (8mm Circle) |
| Sony A7R IV | Center-Weighted Average |
| Fujifilm X-T4 | Partial (6% of Frame) |
As shown in the table above, different camera brands and models may provide variations in their partial metering modes. It is essential to familiarize yourself with your specific camera’s capabilities to make full use of this feature.
In summary, partial metering empowers photographers to achieve precise exposure for a specific area or subject within their frame. By understanding its significance and utilizing it effectively, you can elevate your photography by capturing well-exposed images that truly showcase the essence of your subjects.
Comments are closed.